
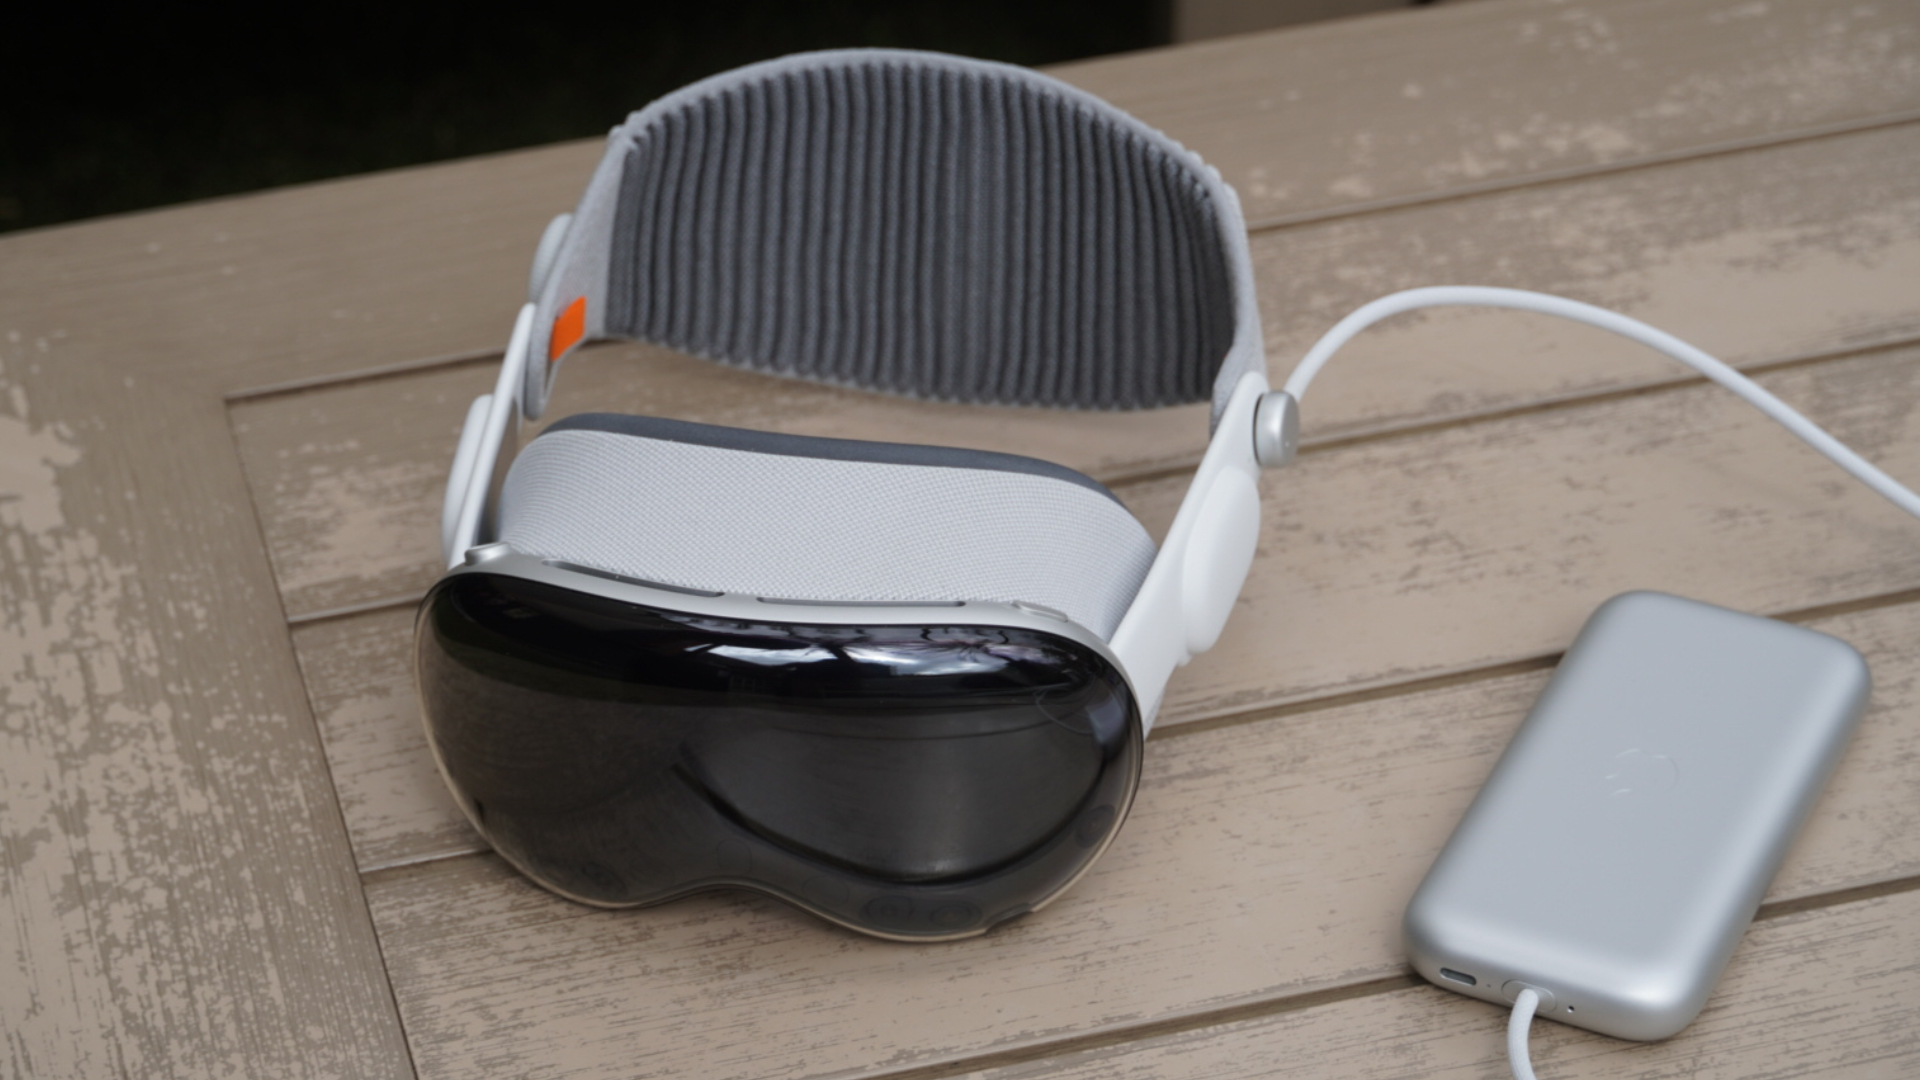
Apple Vision Pro supports one Mac Virtual Display, this app lets you use two — here’s how to create the ultimate spatial computing office with Splitscreen
Apple Vision Pro enthusiasts may have been disappointed to learn that the headset’s best productivity feature, Mac Virtual Display, would only work with one visionOS window. The idea of using Vision Pro to get a triple or quadruple-monitor setup in mixed reality wasn’t possible, at least at launch. Luckily, third-party app developers quickly rushed to fill in that gap with alternative solutions. One of them is Splitscreen, a visionOS app that works in tandem with Mac Virtual Display to offer two macOS displays on Vision Pro.
I was one of the first to try Splitscreen when it was offered as a TestFlight app, but it’s now publicly available through the visionOS App Store. After it is set up, the Splitscreen app is easy to use and is sure to be a productivity booster. Here’s how you can get around Apple’s limitations and use multiple Mac Virtual Displays with your Vision Pro headset.
How to use a single Mac Virtual Display
Since the Splitscreen app compliments the standalone Mac Virtual Display feature, we’ll need to learn how to use that first. This tool works with an Apple Vision Pro headset and any Mac running macOS Sonoma. To use Mac Virtual Display, there are a few iCloud settings that must be enabled or adjusted for everything to work properly:
- Both your Mac and your Vision Pro headset need to be signed into the same Apple ID. The account you’re using must have two-factor authentication enabled
- Make sure iCloud Keychain is enabled on both your Mac and your Vision Pro headset. To do this, open the settings app on each device, navigate to [your name] > iCloud > Passwords & Keychain, and tap Sync this Mac or Sync this Vision Pro. The two devices need to have Wi-Fi and Bluetooth enabled to use Mac Virtual Display
When the above conditions are met, using a Mac Virtual Display with Apple Vision Pro is quick and easy. On a MacBook, all you need to do is put on Vision Pro and start using your laptop. A Connect button will appear above your MacBook’s display, and you can tap it to enter Mac Virtual Display mode. At this point, your laptop’s built-in display will turn off and macOS will appear in a visionOS window.
The process isn’t as quick for Mac desktops, but it’s still fairly simple. You can start using Mac Virtual Display by opening the Control Center on either your Mac or your Vision Pro headset. The visionOS Control Center has an icon for Mac Virtual Display, so you can tap it and select your Mac from the list to start using it. To initiate Mac Virtual Display from your Mac, open the Control Center, tap Screen Mirroring, and select Vision Pro.
How to add a second one with Splitscreen
Now, onto adding a second Mac Virtual Display using the Splitscreen app. This third-party app works similarly to other methods for virtualizing display output in macOS, like DisplayLink. On the hardware side, DisplayLink software overcomes the display output limitations of base-model Apple Silicon Macs. It does this by tricking macOS into sharing its screen with an app, just like you might share your screen with Zoom or Google Meet. The app then takes that screen-sharing output and sends it to an external monitor, or in the case of Splitscreen on Vision Pro, a visionOS window.
As you might suspect, this means you’ll need to install the Splitscreen app on both your Vision Pro and your Mac to utilize a second Mac Virtual Display. You can download the macOS app here and the visionOS app here. After you’ve downloaded both apps, you can get started using a second Mac Virtual Display by following these steps:
- Start a Mac Virtual Display using the native method on your Mac or your Apple Vision Pro (see steps above). Do not try to use Splitscreen until you’ve started a Mac Virtual Display in visionOS, or it won’t work
- On your Mac, make sure Splitscreen is running in the background. You can open it through the Launchpad or via Spotlight search
- Open the Splitscreen app on Vision Pro
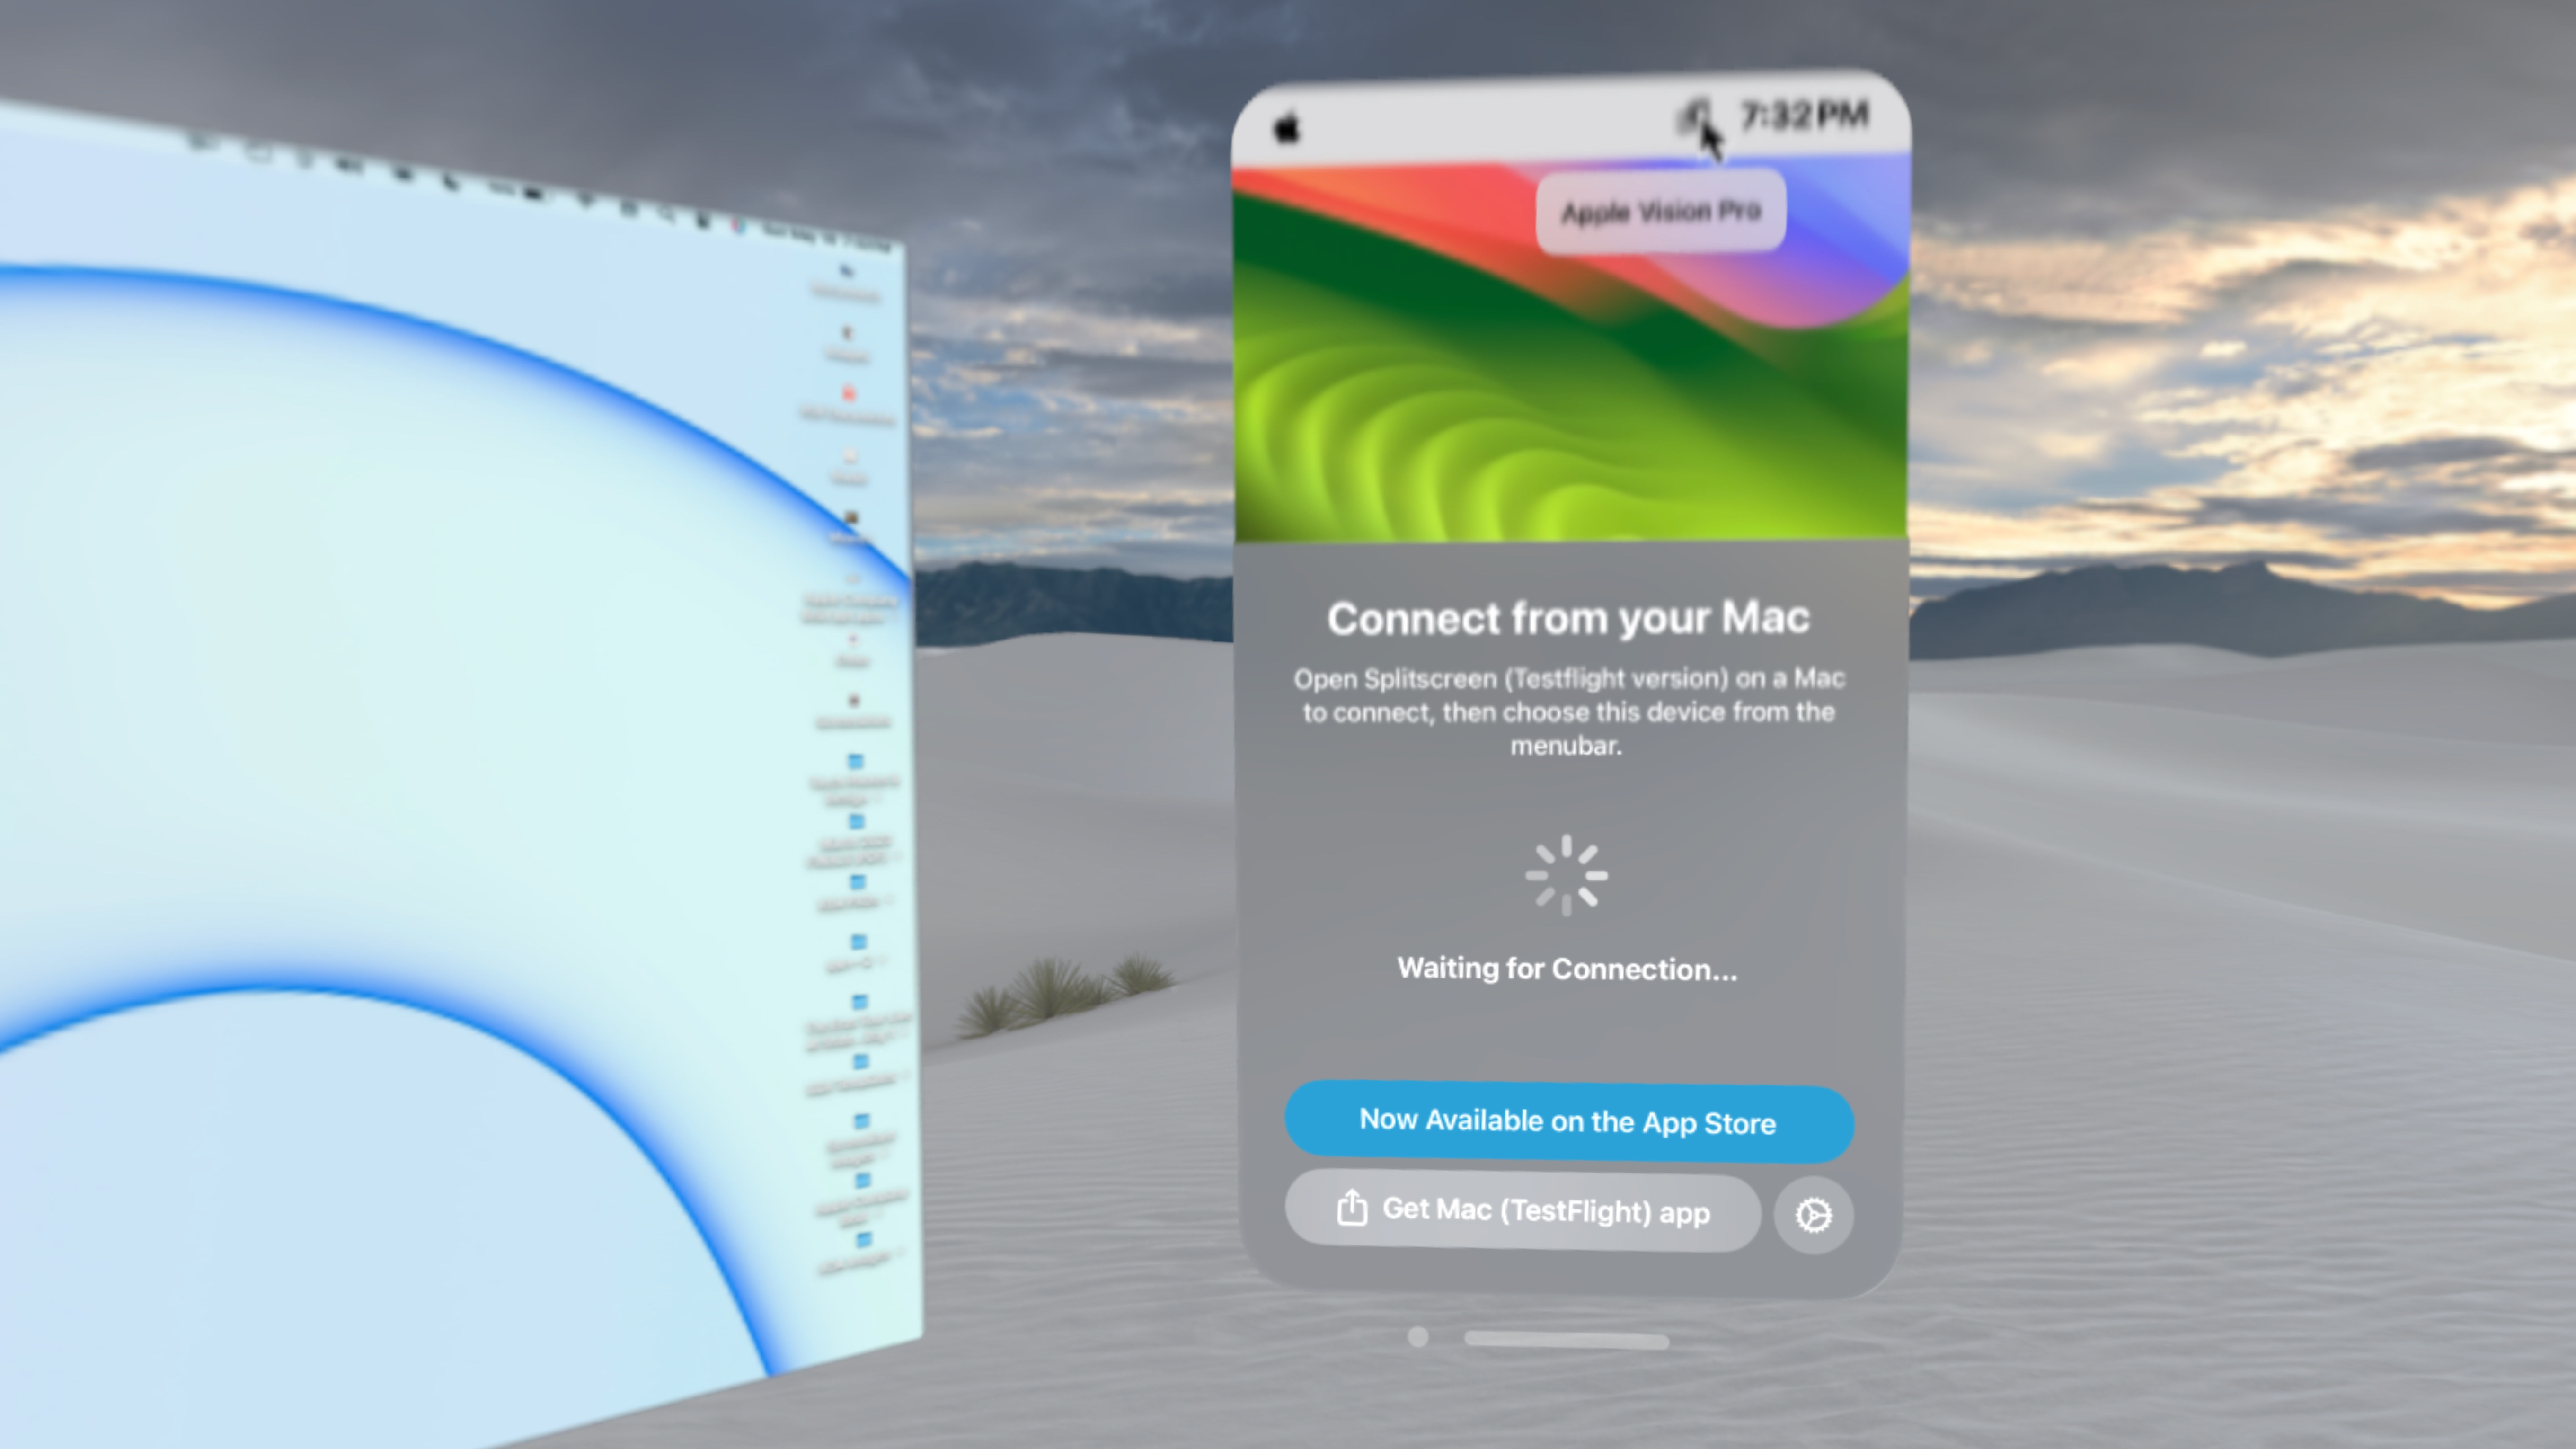
- Click the Splitscreen icon in your Mac’s menu bar
- Select Apple Vision Pro from the list
- A second Mac Virtual Display will now appear
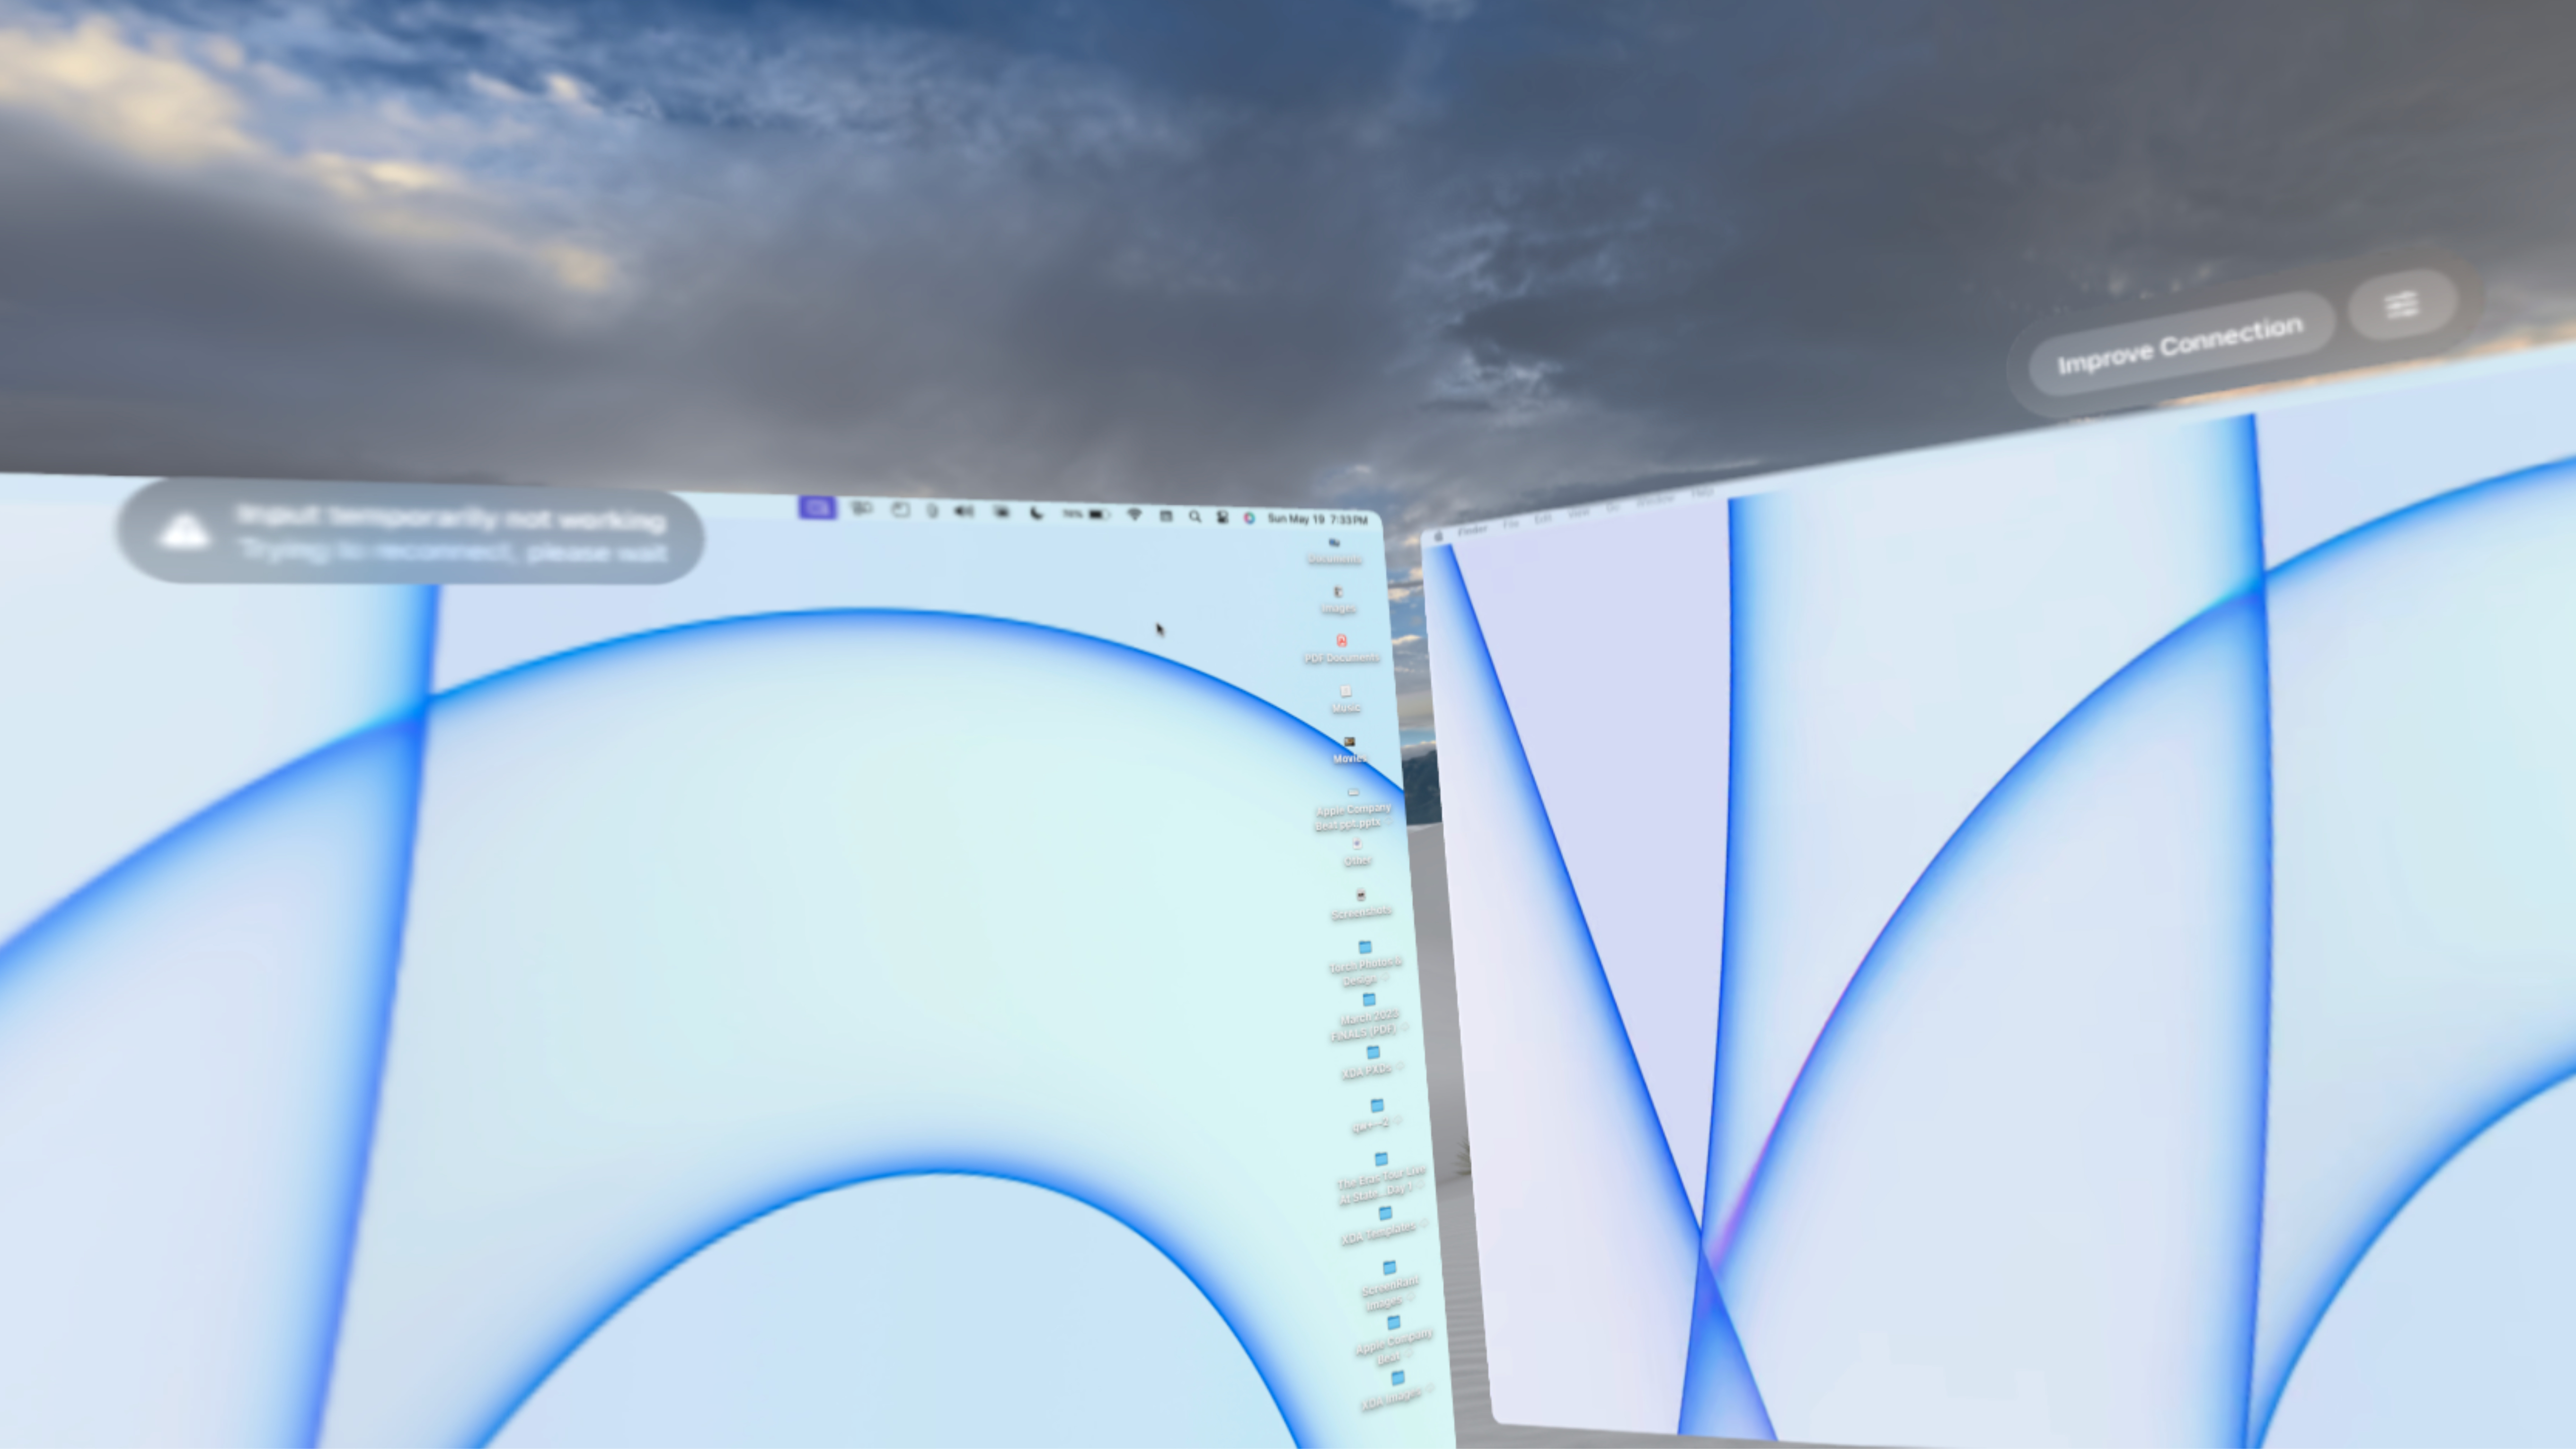
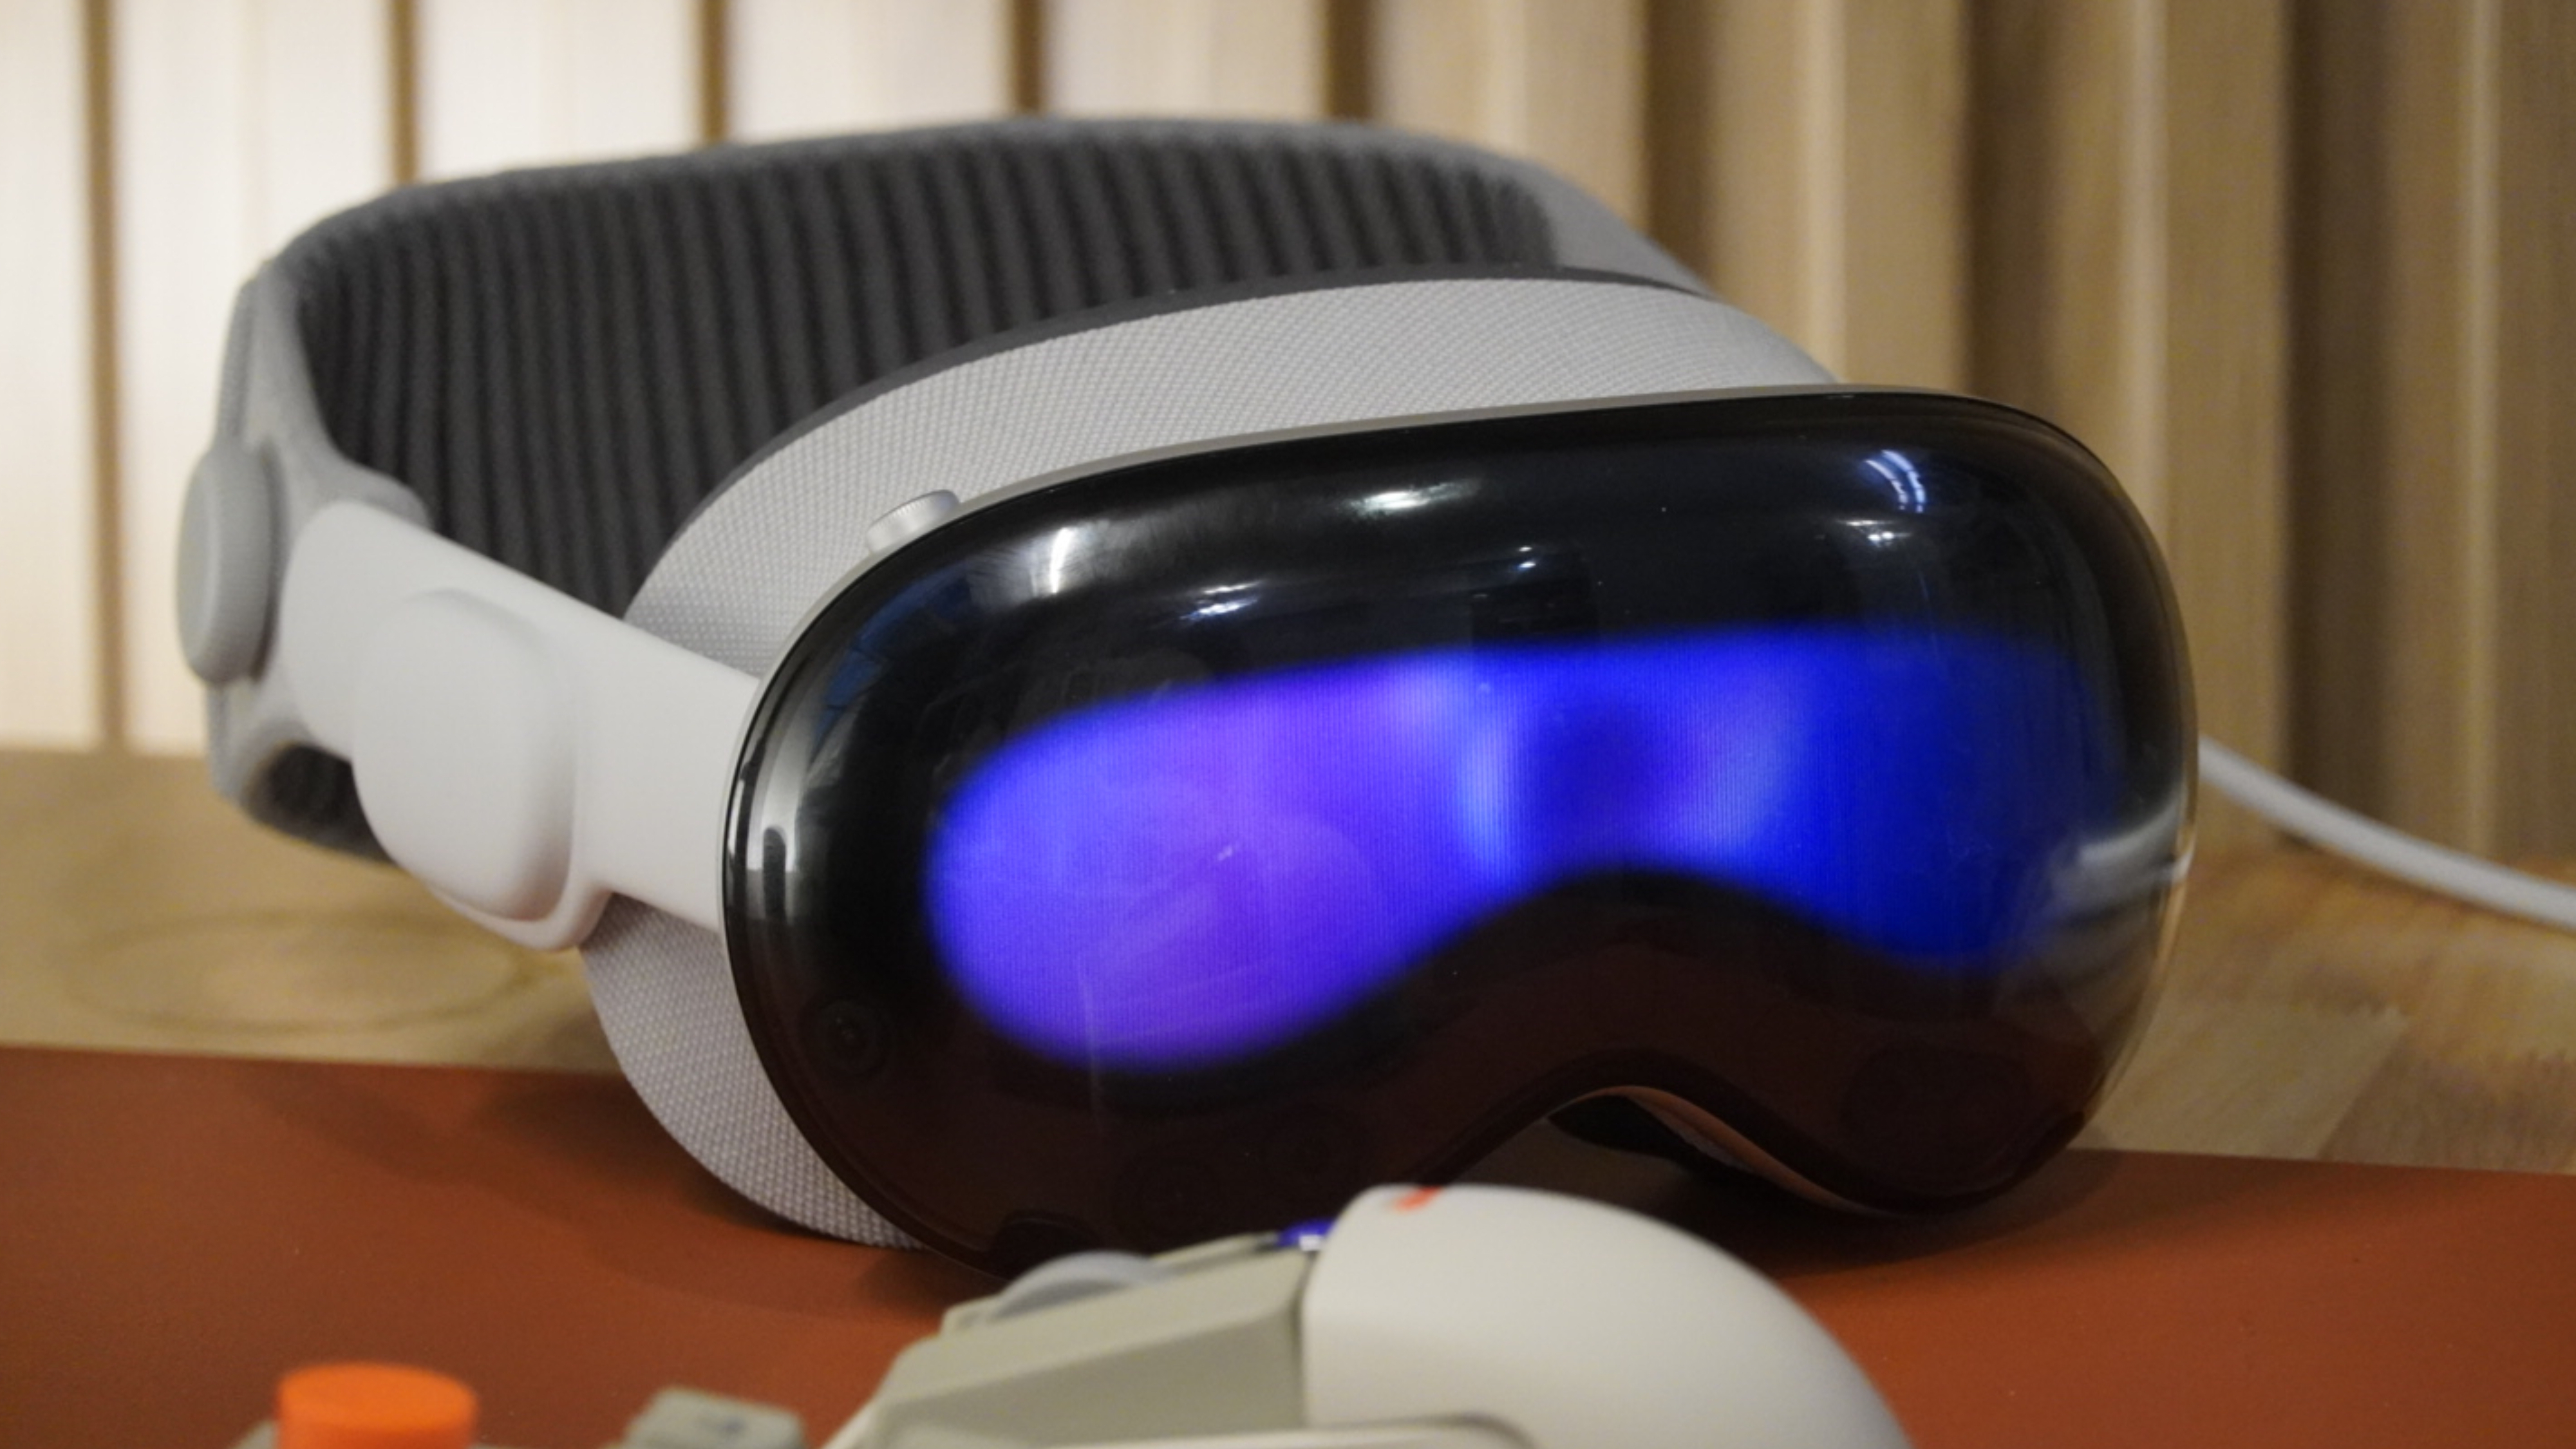
By this point, you should be able to use two Mac Virtual Displays in visionOS. There’s the main one that is officially supported by macOS and visionOS, as well as the third-party one enabled by the Splitscreen app. Both will work just like any monitor you might use with your Mac, except they’re virtualized in visionOS. As such, they can be scaled to impressive sizes and can be moved around in your real-world environment.
Tips, tricks, and known issues
To make the most out of Mac Virtual Display and the Splitscreen app, you’ll need to know some of its strengths and weaknesses. For starters, the Splitscreen app’s display appears in the macOS display settings menu like any other monitor. You can adjust the display’s position, scaling, resolution, and more from this page. It can be accessed by navigating through System Settings > Displays > [Your MacBook’s Name]. To spot it, look for the display that says Splitscreen #1 under it.
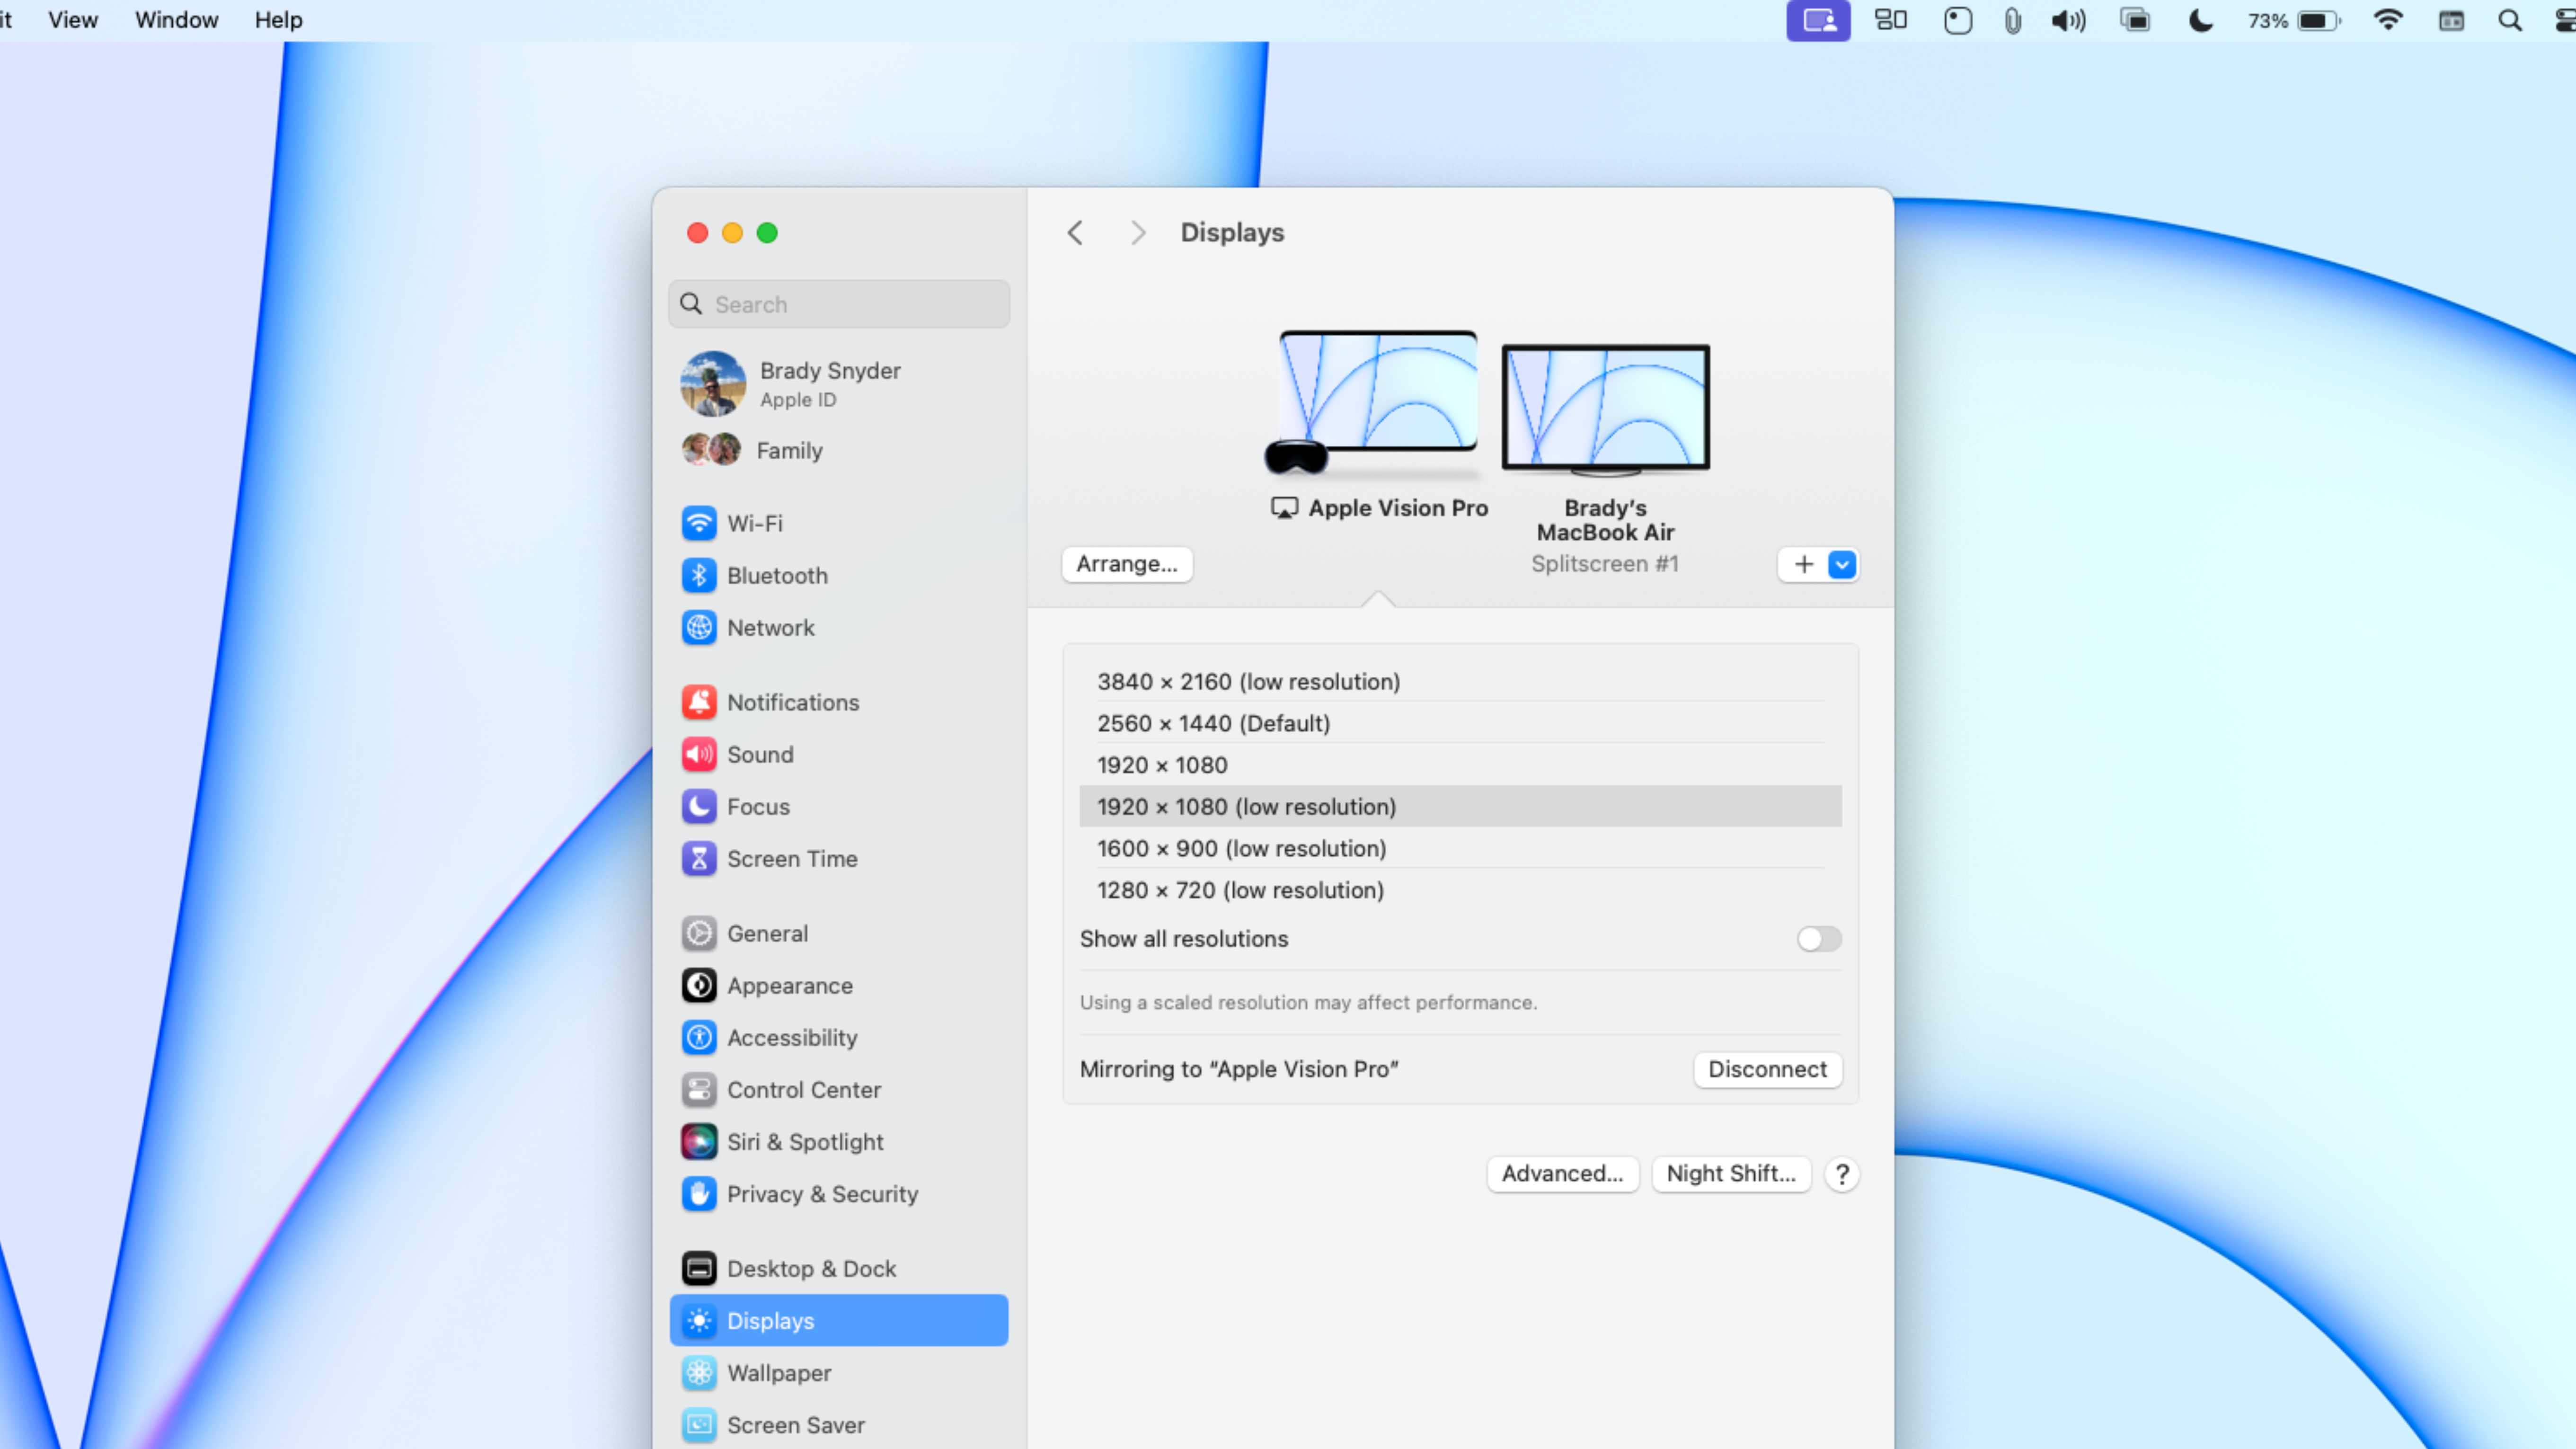
The limitation is that Splitscreen’s virtual display window only supports a 1920×1080 resolution. That’s less than the native Mac Virtual Display, which runs at 4K on Apple Silicon Macs and 3K on Intel Macs. Especially when the Splitscreen app windows are blown up to massive sizes, this low resolution is noticeable.
Another thing to keep in mind is that using the Splitscreen app’s virtual display will feel more laggy than the official Mac Virtual Display. It works best for static content that is interacted with less frequently, like notes or web pages. Typing on the Splitscreen app’s virtual display shows how much additional latency there is compared to Mac Virtual Display, and it isn’t recommended.
Due to the way Universal Control works between Mac and Vision Pro, there may be an “Input temporarily not working” error message displayed on the Mac Virtual Display window when Splitscreen is in use.
Lastly, it’s worth emphasizing that Mac Virtual Display won’t launch properly if the Splitscreen app is already open. You need to start the regular Mac Virtual Display first, and then start Splitscreen. If this doesn’t work, try closing out both the macOS and visionOS Splitscreen apps and try again.
The future of Mac Virtual Display
Ideally, Apple will one day support multiple Mac Virtual Displays right out of the box. Until then, the Splitscreen app is the best way to use two Mac Virtual Displays at once on Apple Vision Pro. It’s a game-changer for productivity and really showcases the future of spatial computing in visionOS. If you aren’t convinced that Apple Vision Pro is a great productivity device yet, trying Splitscreen and Mac Virtual Display together might be enough to change your mind.